Monday
Today we continued to build our individual boxes. I was the first one to finish my box so i started on making another one. We also started on making the top arm that holds the counter weight and weight.
Tuesday
Today we finished all of our boxes. We began to think about how we would attach the boxes to eachother appropriatly.
Wednesday
Thursday
Wednesday, June 16, 2010
WEEK 17
Monday
Today i added the truss structure to the title block and made sure it had proper dimensions and was fit to the screen. I named all my title blocks based on what part of the crane they were.
Tuesday
Was not here
Wednesday
Today we started to make our crane out of the popsicle sticks. I worked on making the base of the crane using full popsicle stick lengths. I didnt have to do any cutting.
Thursday
Today i learned how to make a proper I-beam. We made roughly 15 I-beams to get us started. We continued to cut pieces to get them the appropriate size to build the crane.
Friday
Today we started making three boxes for the bottom of the crane. We added the four corners and the trusses that connect them. We used carpenting glue to strengthen it as much as possible
Tuesday, June 8, 2010


Tuesday, June 1, 2010
Week 16
Monday
Today i had to redo my crane design on CAD because it was not done in popsicle form. I finished the base the crane and started on my top part
Tuesday
today i finished my crane by completing the top and making it an appropriate sized and scaled according to what i would do.
Wednesday
Today i started to work on the multiple views of the base structure design. I put the three different views a new title block with dimensions showing the fine details.
Thursday
Today i completed the base structure drawing making sure it was appropriate in dimensions compared to my main drawing. I had to use the midpoint tool a lot while doing this.
Friday
Today i completed the truss structure for the part of the crane that holds the load. I made it scaled with proper dimensions and made the side and top view as well.
Monday, May 31, 2010
Group Problem Solving
Principles - Dont jump to solutions before defining the problem. Solve problems close to the source. attend to the interests of all stakeholders.
Skills - Brainstorming, Facilitation
Guidlines
Identify a recorder and facilitator (can be the same person)
Clarify the issue or question
If appropriate, first generate ideas individually on paper
Begin recording ideas from the group --sequentially or otherwise
Encourage “piggy-backing” and “wild or crazy” ideas
Discourage criticism or judgmental comments
Push past “the pause”
Cluster before you prioritize
A P rocess I provement Mo elA A P rocess I provement Mo elA A P rocess I provement Mo elA
(The aim of the process --How ar et ing s u pps dt oh p pe?
Rea i y
(H wdo t hingsa tual yha pe ?
Root au es
( W hatw ould acc unt for an y gaps be w e enthe a ma drea ity )
Impro e me t pti ns
( W ha a reo t ons th a tmig t he l pcl set e gap?)
V lu -ad ed I ple e nta io
(Of th e m ny options whic o es w llad value H ww o ldt ey be imple mente ? )
Ev luati n nd C nti uo s m roveme t
(Wha a ret ecri eri for s c es Wha i the Rea i yRoot au esImpro e me t pti nsV lu -ad ed I ple e nta ioEv luati n nd C nti uo s m roveme tRea i yRoot au esImpro e me t pti nsV lu -ad ed I ple e nta ioEv luati n nd C nti uo s m roveme t
Thursday, May 27, 2010
Week 15
Tuesday
Today i continued to work on my crane on AutoCad. I made the prop that holds the weight and counter weight on the crane.
Wednesday
Was not here today
Thursday
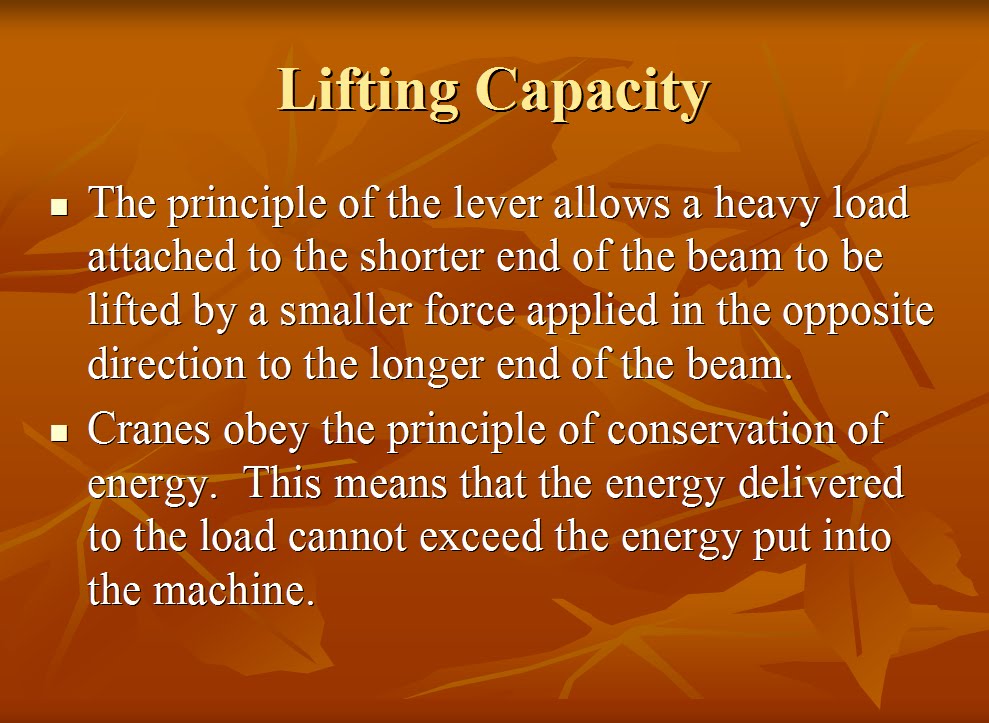
Today we made a presention on powerpoint about cranes. We discussed how to properly design a crane and how the trusses are supposed to work to incrase the stability of your crane.
Friday
Today i worked on my Cad drawing. I made the popsicle sticks scaled to fit on my drawing so that i could be as accurate as possible
Today i continued to work on my crane on AutoCad. I made the prop that holds the weight and counter weight on the crane.
Wednesday
Was not here today
Thursday
Today we made a presention on powerpoint about cranes. We discussed how to properly design a crane and how the trusses are supposed to work to incrase the stability of your crane.
Friday
Today i worked on my Cad drawing. I made the popsicle sticks scaled to fit on my drawing so that i could be as accurate as possible
Thursday, May 20, 2010
Crane Design Ideas and Initial thoughts
I used these pictures of the crane to get an idea of what a simple tower crane should look like. These pictures will help me to design my crane on CAD and get an idea of the proper dimensions of the crane.


The engineering design process
The Engineering Design Process
- Creative process
- Problem solving – the big picture
- No single "correct" solution
- Technical aspects only small part
Elements of Design the Process
ØProblem Identification
ØResearch Phase
ØRequirements Specification
ØConcept Generation
ØDesign Phase
ØPrototyping Phase
ØSystem Integration
ØMaintenance Phase
Needs Identification
1.Collect information
2.Interpret information
3.Organize needs hierarchy
4.Determine relative importance of needs
5.Review outcomes and process
Requirements Specification
ØIdentifies requirements design must satisfy for success
1. Marketing requirements
§Customer needs
2. Engineering requirements
§Applies to technical aspects
§Performance requirements
Properties of Engineering Requirements
1.Abstract – what, not how
2.Unambiguous – unique and specific
ØUnlike marketing requirements
3.Traceable – satisfy need?
4.Verifiable – test/measure
Example Engineering Requirements
vPerformance and Functionality
1.Will identify skin lesions with a 90% accuracy
2.Should be able to measure within 1mm
vReliability
1.Operational 99.9% of the time
2.MTBF of 10 years
vEnergy
1.Average power consumption of 2 watts
2.Peak current draw of 1
Concept Generation and Evaluation
ØExplore many solutions
§Brainstorm
ØSelect the best solution
§Based on needs and constraints
ØCreativity
§ Development of new ideas
ØInnovation
§ Bringing creative ideas to reality
Concept Generation
ØSubstitute
ØCombine
ØAdapt
ØModify
ØPut to other use
ØEliminate
ØRearrange or reverse
Barriers to Creativity
ØPerceptual blocks
ØLimiting problem space
ØEmotional blocks
•Fear of failure – “fail early and often”
ØEnvironmental blocks
• Engineering cultural bias
ØIntellectual and expressive blocks
• Understand tools
Design Considerations
1)WORST CASE DESIGN
ØComponent variation
ØEnvironmental conditions
ØUse computer simulations
2) RELIABILITY
Ømeasured by MTBF, failure rate = 1/MTBF
Ømechanical parts fail first
Ødesign redundancy into system
Øsimple system/fewer parts = more reliable
3) SAFETY
Øidentify failure modes
Øprovide protection
4) TEST
Ødesign for ease of test
5) PRODUCTION/MANUFACTURING
Øconsider ease of assembly
Design Methodologies: Top-Down
ØAlso called “functional decompostion“
Øimplementation details considered only at the lowest level
Øtop‑down design, is not so clean and linear in practice
ØOften implementation‑level commitments are made at high levels in the design process
Design Methodologies
CASE‑BASED:
ØResearch a specific, similar design case study
ØModel your process on that
INCREMENTAL REDESIGN:
ØFind an existing design and "unravel" the design from the bottom up
ØModify as required
ØDetailed and least global aspects of the design are explored and redesigned, if necessary, first
ITERATIVE REFINEMENT:
ØAn iterative top‑down approach
ØFirst a rough, approximate and general design is completed
ØThen we do it finer, more exact and more specific
ØThis process continues iteratively until the complete detail design in done
BOTTOM‑UP DESIGN:
ØOpposite of top‑down
ØStart at the bottom with detail design
ØTo do this, you must have some idea of where you are going. So, often this becomes...
HYBRID DESIGN:
ØCombines aspects of both top‑down and bottom‑up
ØMore practical design approach then pure top‑down
ØStart with a top‑down approach, but have feedback from the bottom
"EXPLORER" METHOD:
ØTypically used for new design ideas or research. It is useful in initial design and specification stages, and is often used when in "unfamiliar territory":
1)Move in some direction; e.g. toward the library, telephone, domain expert's office, etc.
2)Look at what you find there.
3)Record what you find in your notebook.
4)Analyze findings in terms of where you want to be.
5)Use results of analysis to choose next direction.
6)Back to 1) and continue exploring
Design Group (Team)
ØEngineering projects require diverse skills
ØThis creates a need for group (team) work
ØSelect members based on skills
1.Technical
2.Problem-solving
3.Interpersonal
ØDevelop decision making guidelines
1.Decision by authority (leader)
2.Expert Member
3.Average member opinion
4.Majority
5.Consensus
ØTeams that spend time together tend to be successful teams
ØRespect each other
1.Listen actively
2.Consider your response to others
3.Constructively criticize ideas, not people
4.Respect those not present
5.Communicate your ideas effectively
6.Manage conflict constructively
ØHold effective meetings
1.Have an agenda
2.Show up prepared
3.Pay attention
4.Schedule time and place of next meeting
5.Summarize
ØAssign tasks and responsibilities
Project Management
ØWork breakdown structure
üHierarchical breakdown of tasks and deliverables need to complete project
ØActivity
1.Task – action to accomplish job
2.Deliverable – e.g. circuit or report
ØDefine for each activity
1.Work to be done
2.Timeframe
3.Resources needed
4.Responsible person(s)
5.Previous dependent activities
6.Checkpoints/deliverables for monitoring progress
Tuesday, May 18, 2010
Sectional Drawing Test Review
Part Drawing - Detail drawings completely describe a single part with multiview orthographic projection. Provides enough information to economically manufacture a part.
Assembly Drawing - Assembly drawing are used to show the position and functional relationship of parts in an assembly. Do not have dimensions on them.
Section Views - Sections views are used to clarify internal detail and to avoid dimensioning to hidden lines. They are established by referencing a cutting plane. They depict the exact location on the part from which the section view will be projected.
Cross Hatching - The general purpose cross hatch is used in most individual detail component drawings and in assembly applications where no confusion will result. Each of the assembled components are depicted with a different crosshatch angle. Specific cross hatch symbols can be used to represent different material types.
Half Sections - Half section views are the result of cutting planes beign psotion on parts that only half of the resulting view or projection is shown in the section. They are used on objects of symmetry.
Project Management
ØDefine for each activity
1.Work to be done
2.Timeframe
3.Resources needed
4.Responsible person(s)
5.Previous dependent activities
6.Checkpoints/deliverables for monitoring progress
Week 14
Monday
Today we opened our blogs for mr.d to mark and check our progress so far this year. We then watched a movie about the world trade centre. This movie was very educational and interesting, the movie explained how the world trade centre was built and explained the theory on how the building most likely collapsed during 9/11
Tuesday
Today we updated our blogs and wrote a note. We then were told about the cranes we would be building within the next couple of weeks
Wednesday
I was not here today
Thursday
Today i started to design my crane on AutoCad. I started the base of the crane. I made the trusses the length of a popsicle stick and the base about 3/4 of a popsicle stick
Friday
Today i started to design the top part of my crane that carries the load and holds the counter weight. I made the one end longer than the other to hold the load and the other to hold the counter weight.
Friday, May 14, 2010


Tuesday, May 11, 2010
week 13
Monday
WAs sick
Tuesday
Today i did the orthographic and isometric drawings worksheet. hello mr d. I handed it in then worked on the next assignement in autoCad.
Wednesday
Today i continued to work on my control bracket drawing in AutoCad. I began to draw each side and learned a few new tools such as the quad tool and fillet tool. Each of these tools i had to use when rounding my corners and drawing the proper hidden lines. Today i managed to finish everything except for the hidden lines and dimensions
Thursday
Today i added the hidden lines to my drawing. I found that this drawing was a little harder than most of the other drawings that we have done earlier in AutoCad.
Friday
Today i added the dimensions to my front view, top and view and side view. I also put it on the title block and added it to my blog. I learned how to resize my drawing to fit the screen on the title block
Thursday, May 6, 2010
Week 12
Monday
Today we were given a drawing that we were told to sketch using our knowledge of orthographic drawing. I made a sketch of my drawing on paper based on the appropriate lenght height and width sizes.
Tuesday
Today i put my sketch of the vertical brace onto AutoCAD. I found this drawing a little more complicated then some of the others but i managed to figure my way through a few of the different angles and length sizes.
Wednesday
Today i continued to work on my vertical brace. I finished off the drawing then added dimensions and the angle degrees.
Thursday
Today i put the vertical brace onto the title block. I added the title of it, my name and my school. I also made the size of my drawing properly fit the page in the model space.
Friday
Today mr.D checked my drawing that i did on AutoCad. I made corrections to the ones that needed work.


Friday, April 30, 2010
Week 11
Monday
Was not here
Tuesday
Today i did the dimensions and centre lines of the adaptor. I learned how to properly set centre lines and use the apporpiate line types such as hidden lines, continuous lines, and dashed lines. I also posted my drawings on my blog.
Wednesday
Today i worked continued to use autoCAD on my next drawing. I started the new drawing of CAD problem 1.4. It was a little harder than the others but i managed to figure it all out. Less lines were given specific distances and i was forced to use a lot of other liens ot figure the smaller ones out.
Thursday
Today i finished all the different views of CAD problem 1.4. I learned how to make better use of angles and distances effectively when drawing my shapes. I also started to do the dimensions of the drawing.
Friday
Today i finished the dimensions and centre lines and posted it on my blog. I learned how to scale down my drawings when posted on the model paper. I learned how to professionaly post the name of the drawing, my name, and the name of my school.


Wednesday, April 28, 2010


Tuesday, April 27, 2010
MECHANICAL DRAWING
Dimensions:
are the text that is provided with a drawing that describe the exact size and location for the features shown. also known as size descriptions.
Conversions:
1 in. = 2.54 cm
2 methods of dimensios
aligned and unit directional
do not place dimensions on object
do not place dimensions on hidden lines.
leaders should not be vertical or horizontal only at 30-60*
Thursday, April 22, 2010


Subscribe to:
Comments (Atom)